


08 Jun Simply Homemade Series: Homemade Jam
When I was a child, I always looked forward to going to my Aunt Sharon’s house; First because I loved playing with my cousins (I had no sister) but a close second was my Aunt’s hugs and her cooking. Everything she made was from scratch and delightfully delicious. Her big smiles and warm hugs just made her food taste even better.
I still make her sweet potato casserole with pecans and brown sugar every Thanksgiving as it was my favorite among her holiday dishes. And yet, there was nothing she made that I loved more than her freshly baked homemade biscuits with homemade strawberry jam.
She would always be awake in the morning long before any of us, kneading dough and shaping biscuits. I always seemed to open my eyes and come downstairs at the precisely perfect time – when the biscuits were emerging from the oven, fluffy and slightly browned.
After eating her jam for years and years, I finally asked for her recipe in college. I thought for sure it would be ridiculously hard and I wouldn’t be able to do it myself but I loved her jam so much I wanted to give it a try. (Here’s my lovely auntie below!)

Surprise! Homemade Jam is Easy to Make!
To my surprise, she pulled out the recipe which simply came with the box of SureJell fruit pectin. There are two different recipes for jam that you can make from the SureJell box: cooked jam/jelly (link to recipe here) and quick-set freezer jam (link to recipe here). Note: I always buy the “low sugar SureJell pectin” which is in a pink box. This pectin allows you to use much less sugar per batch than the recipes call for. When we are using berries that are very ripe and farm-picked, I usually only add one cup of sugar per batch since the berries already provide natural sweetness.
The cooked jam/jelly has a darker appearance and a “cooked jam” taste. It also takes a little more effort (but not a lot) and yields more jam per batch for your money. The quick-set freezer jam has a pretty bright appearance (the same color as the fresh fruit) and a “fresh fruit” taste. It takes a little less time to make but yields less jam per batch.
Our family loves both but I have to say I prefer the taste of the quick-set/fresh fruit jam. It just tastes like I am eating a strawberry straight from the field (yum!). Due to the fact that this method doesn’t yield as much jam, is more pricy per ounce to make, and I’m making enough jam for an entire year when I make it, I usually make half the jam with one method and half with the other.
Both produce excellent homemade jam! I think the quick-set/fresh fruit are best saved for being served with cheese and French bread/crackers or as a topping to ice cream, while the cooked jam is best for every day use on sandwiches and toast. The verdict? You try them both and decide!
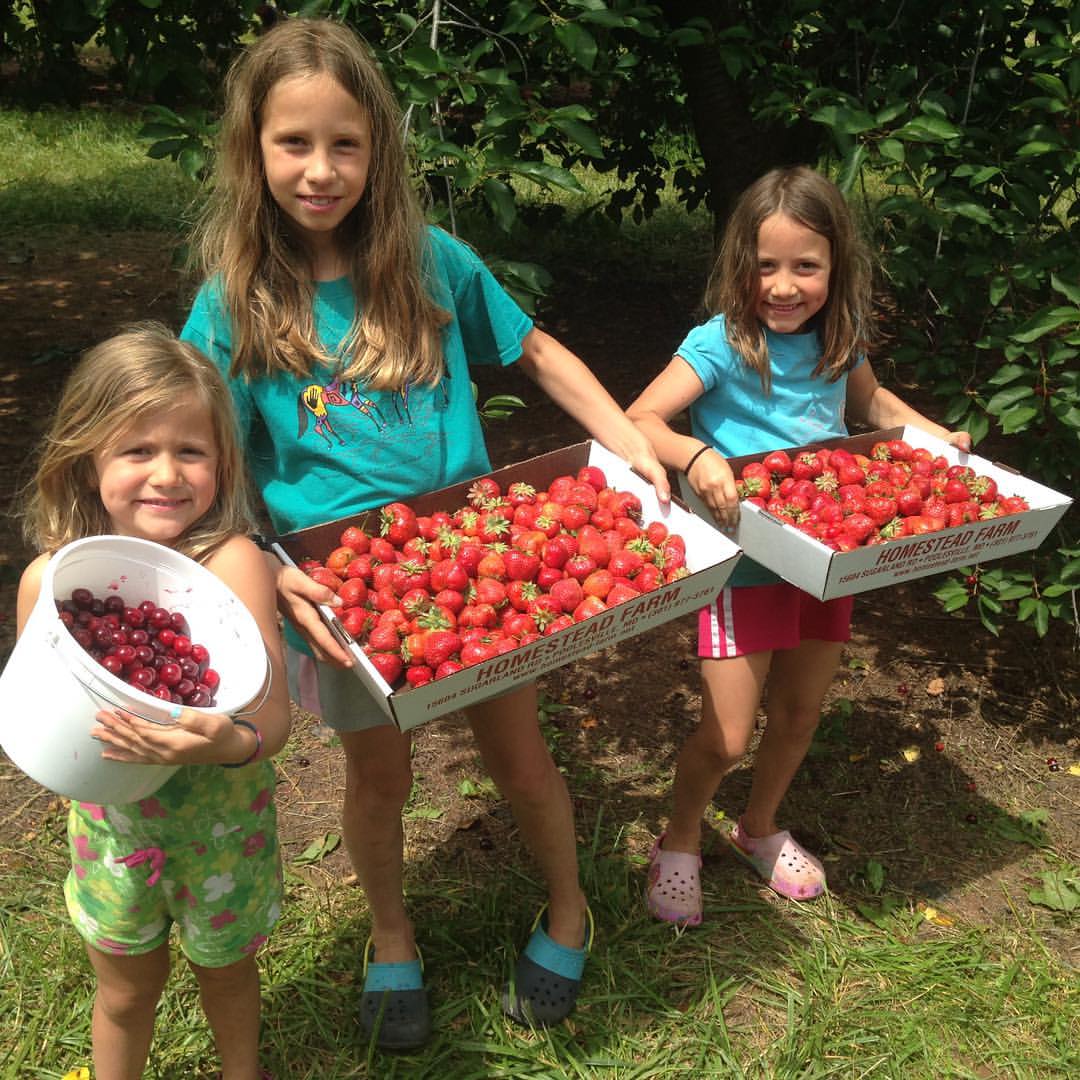
A Family Tradition
I’ve been doing strawberry picking and jam making now for over a decade. As soon as my first baby was walking, she began helping me pick berries as well. Now all three of my girls take part in this family tradition (both picking the berries and making the jam) on a yearly basis and it is something we all look forward to (especially licking the bowl afterwards!)
This experience involves teaching our kids where their fruit comes from, supporting local farmers, teaching our children how to cook, and spending time together as a family – it’s winning times 4!
Are strawberries not your fruit of choice? No problem! There are lots of different fruits that you can make jam from and the Sure Jell site has recipes for making peach jam, apple jelly, pepper jelly, mixed berry, and more.
So, give jam-making a try! At 30 minutes per batch, you can’t lose!
No Comments